
How To Use Focus Groups In Your Final Year Project
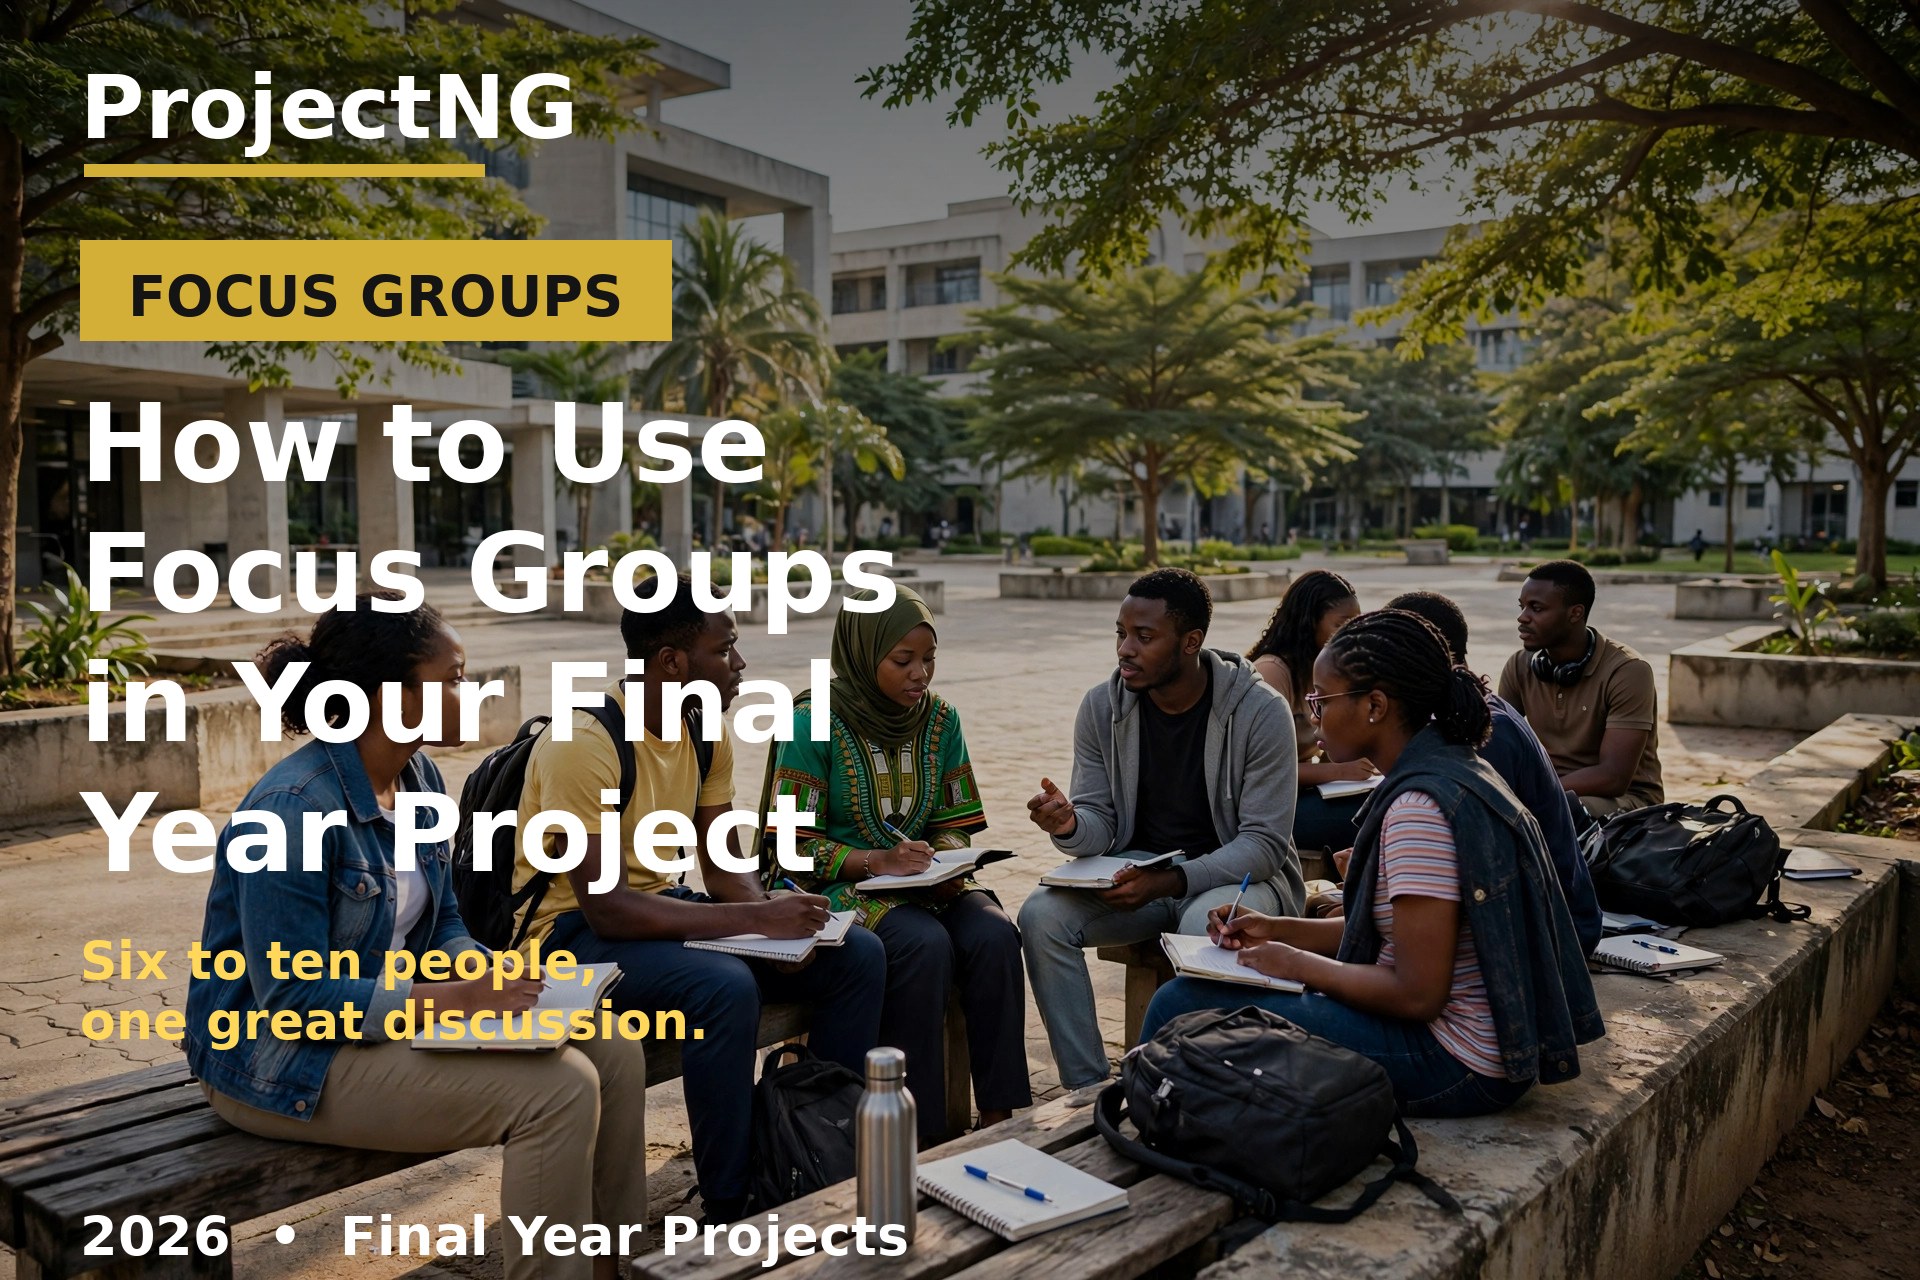
You have a question that a questionnaire cannot answer. You want to know why students skip lectures, how patients feel about a new clinic, or what teachers really think of a new curriculum, and a list of tick boxes will only tell you how many people agree, not why they agree. That is the moment to reach for a focus group. A focus group is a moderated discussion with a small group of people who share something relevant to your study, and it is one of the most useful tools a final year student can use, provided you run it properly. This guide shows you how, from the first decision to the paragraph you will write in Chapter Three.
Academic Integrity & Digital Research Tools
Writing a high-quality Project Thesis requires more than just data; it requires precision. To ensure your Research Methodology meets international standards, we recommend using advanced AI Plagiarism Checkers and Grammar Correction Software before submission.
Professional Proofreading and Formatting
Many academic institutions now use automated AI Detection Tools. If you are preparing your Statement of Purpose (SOP) or Manuscript, investing in professional Academic Proofreading Services can help you maintain a high Similarity Index score while ensuring your research remains authentic and impactful.
What a Focus Group Really Is
A focus group is a planned group discussion, usually of six to ten people, guided by a moderator who follows a short list of open questions called a discussion guide. The participants talk to each other, not just to you, and that interaction is the point. One person mentions an experience, another disagrees, a third adds a detail nobody had thought of, and the conversation produces ideas no single interview would have reached. That is what makes a focus group different from a group interview, where each person simply answers in turn.
It is also a qualitative method, which means it explains reasons and meanings, not numbers. Eight students in one discussion can tell you why attendance is falling, but they cannot tell you what percentage of the whole university skips lectures. If your research question needs numbers, you need a survey instead. If it needs reasons, experiences and shared views, a focus group may be exactly right. If you are still choosing the overall approach for your study, read How to Choose the Right Research Design for Your Final Year Project before you commit to any one method.
When a Focus Group Is the Right Choice for You
Choose a focus group when the group itself adds something. That happens in four common situations:
- You are exploring a topic you do not yet understand well. Early in a study, a focus group can surface the issues, the language people actually use, and the questions worth asking in a later survey. It is a good way to scope a topic before you design a questionnaire.
- You need to understand reasons, not just opinions. A survey can tell you that students dislike online lectures. A focus group can tell you why: the connection drops, the lecturer reads slides aloud, or nobody feels able to ask a question.
- Your question is about shared experience. If you are studying how a group of nurses copes with night shifts, or how final year students choose a project topic, the shared experience is part of the data, and a group setting brings it out.
- You want to explain survey results you already have. If your questionnaire produced a surprising result, a focus group can help you understand what sits behind the numbers. This is one of the most respected uses of the method, and it is often the strongest chapter in a mixed methods project. For the wider picture, see What Is Mixed Methods Research and When Should Your Final Year Project Use It?
When You Should Pick a Different Method
A focus group is the wrong tool in three situations, and knowing this will save you from a weak methodology chapter. First, do not use one when you need numbers or generalisation. A small group cannot represent a whole population, so never write that your findings apply to all students in Nigeria because eight students said so. Second, do not use one for a sensitive topic. People will not discuss personal income, experiences of abuse, or illegal behaviour honestly in front of strangers, and asking them to is an ethical problem as well as a practical one. Use one-to-one interviews instead, and see Researching Through Interviews: A Comprehensive Guide for Students. Third, do not use one when you need individual depth. If your question is about one person's life history or a personal decision, a private interview will give you far more than a group discussion. If you need to watch what people do rather than hear what they say, Observation as a Research Method may fit better.
How Many People Do You Need, and Who Should They Be?
Plan for six to ten participants per group. Fewer than five and the discussion can feel thin and exposed, with long silences and too much pressure on each person. More than ten and you lose control: airtime shrinks, quieter members disappear, and the session turns into a lecture with an audience. Many experienced researchers prefer six to eight, especially for a complex topic, because a smaller group gives each person room to speak and is easier to moderate.
Always over-recruit by one or two people, because no-shows are normal. If you need eight, invite ten, and confirm with everyone the day before. For a student project, two or three groups are usually enough, and you can stop when new groups stop adding new ideas. That point is called saturation, and it is a respectable reason to give in Chapter Three for the number of groups you ran.
Who you invite matters as much as how many. Your participants should share the characteristic that matters for your question, such as being final year nursing students, or parents of children in one school, so that they feel comfortable speaking openly. Keep each group fairly homogeneous, but vary the composition between groups. For example, run one group of first year students and a separate group of final years, rather than mixing them, so you can compare what each group says. Do not mix people who have authority over each other, such as lecturers and their own students, because the junior members will stay silent. For the definitions behind who counts as your population and your sample, see What Is the Population of Your Study?
Writing Your Discussion Guide
Your discussion guide is the short list of questions the moderator works from. It is not a questionnaire, and it should never be read out like one. Plan five or six main questions for a 60 to 90 minute session, and order them from general to specific so the group warms up before the harder topics arrive.
A good guide has three kinds of question. Start with an easy warm-up that everyone can answer, such as "Tell me about the last time you attended a lecture in this department." Then come the key questions, which take up most of the session and should begin with what, how, or tell me about. Avoid yes or no questions, and avoid questions that hint at the answer you want. Instead of asking "Do you think the timetable is bad?", ask "What is a typical week like for you, and what gets in the way of attending?" End with a closing question that lets people add anything you missed, such as "What advice would you give a new student in this department?"
Write two or three probing prompts under each main question, for use when an answer needs more detail: "Can you tell me more about that?", "Does anyone have a different experience?", "What made you choose that?" Then test the guide before the real session. Run it past your supervisor, and try it on two or three friends who resemble your participants. A guide that confuses your friends will confuse your participants, and this small trial is a form of pilot study, so report it in Chapter Three.
Running the Session on the Day
Choose a quiet, private room where nobody will be interrupted, and arrange the chairs in a circle or a semi-circle so everyone can see each other. A circle signals that every voice counts, and a long table with you at the head signals a lecture. Arrive early, test your recorder, and bring a spare recorder or a phone as backup, plus paper and pens in case the technology fails.
Begin by welcoming everyone, introducing yourself and the purpose of the study in plain language, and explaining the ground rules: there are no wrong answers, everyone should have a chance to speak, what is said in the room stays in the room, and anyone can leave at any time. Then ask for consent to record, and get it in writing. If anyone refuses, do not record them, and consider whether they should take part at all. Consent is not a formality, and your ethics clearance will expect you to show how you obtained it.
Keep the session to 60 to 90 minutes. Shorter and the discussion never gets going; longer and people tire and repeat themselves. Watch the clock against your guide, and if one topic is running long, gently move the group on. Take brief notes during the session, but do not try to write down everything. That is what the recording is for. Your notes should capture who said what, the mood in the room, and anything the recorder cannot, such as a nod of agreement that swept the whole group.
The Loud Voice and the Quiet One
Every group has a talker and a quiet member, and how you handle them decides the quality of your data. For the dominant participant, thank them for the contribution, then redirect the question to the rest of the group: "Thank you, that is helpful. I would like to hear from others now. What did the rest of you think?" If the same person keeps answering first, use their name last, or invite others by name. Never argue with a participant, and never signal which answer you want to hear, because the group will quickly learn to tell you what you want.
For the quiet participant, invite them in gently rather than putting them on the spot. Try "You nodded when Ada spoke. Did you have a similar experience?" rather than "What do you think, Chidi?" If someone stays silent for the whole session, do not force it. A quiet participant is still data, and you can note in your analysis that some members spoke little, which may itself say something about the topic. Above all, stay neutral. Your job is to keep the conversation flowing and on topic, not to teach, correct, or agree.
After the Discussion: Turning Talk into Findings
The work is only half done when the session ends. Transcribe the recording as soon as you can, while the session is still fresh in your memory, and transcribe what people actually said, including disagreements and half-finished sentences. Transcription is slow, so allow several hours for each hour of recording, and consider transcribing the most relevant parts in full and summarising the rest if your supervisor agrees.
Then analyse the transcript the way you would analyse interview data: read it through, code the recurring ideas, and group the codes into themes. Look for what the group agreed on, where they disagreed, and which ideas came up in more than one group. Pay attention to the interaction itself. A view that several people built on together is stronger evidence than a view stated once and ignored. And be honest about the limits. A focus group cannot prove how many people hold an opinion, so report what your participants said and what it suggests, not what the whole population thinks. For the step by step method, see How to Analyse Qualitative Data in Your Final Year Project (Thematic Analysis, Step by Step).
What to Write in Chapter Three
Examiners expect a short, honest account of your method in the methodology chapter. Cover six things: why you chose a focus group for this question, how many groups you ran and why, who the participants were and how you recruited them, how you wrote the discussion guide and whether you piloted it, how the sessions were run and recorded, and how you analysed the data. A clean version reads something like this: "Two focus group discussions were held with final year students of the Department of Mass Communication, six participants in each group, recruited by purposive sampling. The discussions were guided by a six-question discussion guide, audio-recorded with consent, transcribed verbatim, and analysed thematically." Add the ethical steps you took, and name the limitation plainly: the findings describe these participants, not the whole student population.
For a wider explanation of the method, with more worked examples, see the Research Prospect guide to focus groups in research and the Global Academic Publishers guide on how to conduct a focus group in research.
Your Focus Group Checklist
Before your first session, run through this list. Have you written a purpose statement in one sentence, and five or six open questions in a discussion guide? Have you recruited six to ten people per group, from the right population, and over-recruited by one or two? Have you booked a quiet room, tested your recorder, and arranged a backup? Have you prepared your consent forms and your ground rules? And have you set aside time to transcribe and analyse before your deadline? If the answer to each one is yes, you are ready. A focus group is not a shortcut, and it is not a group interview. Done well, it gives you the reasons behind the numbers, in the participants' own words, and that is exactly the kind of evidence that makes a final year project worth reading.





RELATED TOPICS
Gou Fine And Applied Arts Project Topics And MaterialsCcu Business Administration Project Topics And Materials
Get Free Entrepreneurial And Business Management Project Topics And Materials
Reliable Psychology Project Topics And Materials
Crutech Printing Technology Project Topics And Materials
New Statistic Project Topics And Materials
Hnd Building Technology Project Topics And Materials
Best Office Technology And Management Project Topics And Materials
Futo Marketing Project Topics And Materials
The Role Of Literature In Research: Analyzing Literary Works And Criticism Materials
9
Enjoying our content?
Don't miss out on new videos! Subscribe to our YouTube channel for more awesome content.
Subscribe Now!